DIY JEWELRY DISHES

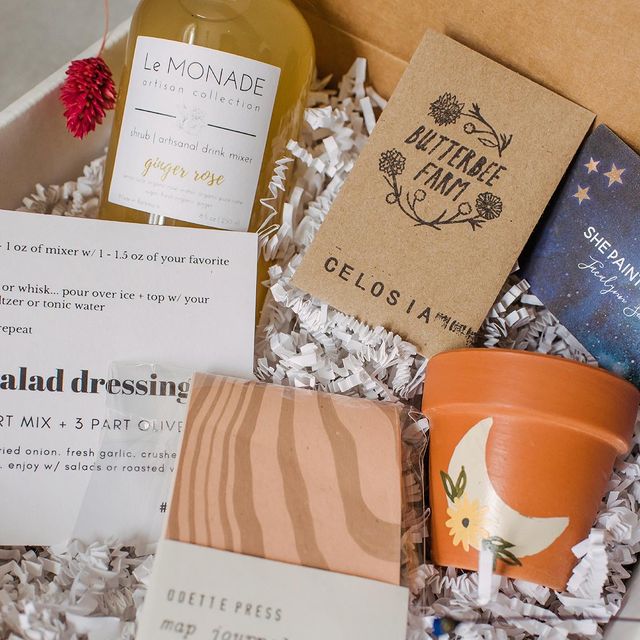
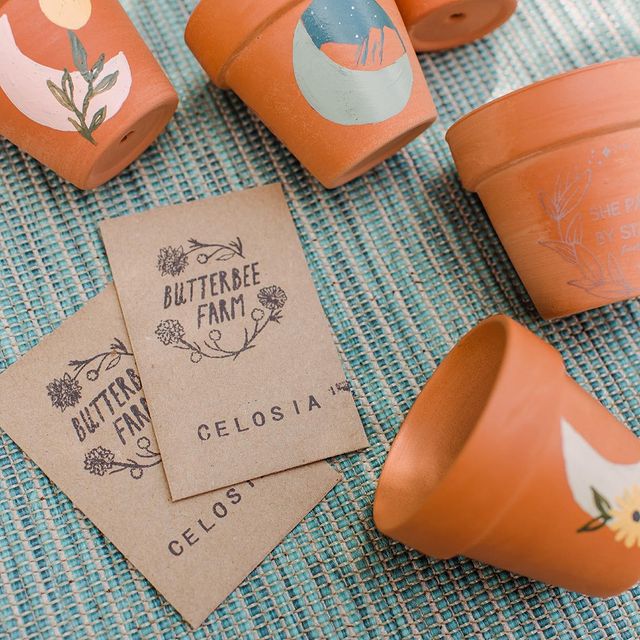
These little dishes are very easy to make. Decorated with pepper and/or salt, you can create an authentic pottery look with some amazing texture, and hardly any effort! Use these to store jewelry, to style your photos, or even as birthday presents or wedding favors. Play with sizing and decorating techniques to really make these your own design–sky’s the limit!

Supplies & Tools:
Oven-bake polymer clay, such as Sculpey
Rolling pin
Oven-safe glass ramekins, or any other small oven-safe bowl
Wax paper or parchment paper
Masking Tape
Plastic pottery knife or blade
Fresh ground pepper
Optional Supplies:
Colored coarse salts, such as Himalayan Pink or Black Lava salt
Oil Based Metallic Paint Pens with medium or heavy tips, such as Craft Smart in gold, copper, or silver
Spray gloss varnish, such as Krylon’s Triple Glaze

Step 1: Prep Your Workspace.
Begin by preheating your oven to 275˚F, or whatever temperature the type of clay you’re using recommends. Proceed with taping a piece of wax or parchment paper to prep your workspace. Remove a small chunk of clay from its packaging, and begin to knead and work the clay until it’s smooth. Then roll it into a ball and place on your workspace.


Step 2: Let It Roll!
Using your rolling pin, or any other smooth rounded surface (such as a glass jar), begin to roll the clay smooth and flat with light to medium pressure, and alternating directions so you can keep the shape rounded and even. Depending upon how thick of an edge you want around your dish, aim to keep your rolled clay to a 1/8” to 3/16” thickness. Check to make sure that you’ve rolled out your clay far enough by inverting your glass ramekin and lightly placing on top of the clay to make sure your edges remain outside the perimeter of the ramekin.

Step 3: Cut. It. Out.
While gently holding the inverted glass ramekin in place, use your plastic pottery knife or blade to cut around the outer edge of the ramekin. *NOTE: if you’ re using a blade, make sure you place an additional surface below your wax paper, such as a self-healing cutting mat, or piece of cardboard that can be cut through if you apply a lot of pressure–you don’t want to damage your table or surface below!


Step 4: Time to Decorate.
Using your pepper grinder, you can decorate your dish in a variety of ways. You can simply grind over the entire surface, or create a more complex design. To do so, you can cover half the dish with an additional piece of wax paper, and only grind pepper on the other exposed half. Or you can place a small jar, or coin, in the center and grind around the perimeter to keep the center clear, and have more of a decorative border. You could even cut small circles out of a piece of wax paper and place on top, and grind pepper to create black pepper polka dots. Let your creativity run wild! *OPTIONAL: You can also work with different colored fancy salts if you prefer. We really love the combo of Himalayan Pink salt mixed with Black Lava salt!


Step 5: Get Ready to Bake!
Once your pepper (or salt) is applied, gently press into the surface of the clay to make sure it stays put. Then, gently remove the clay from the wax paper, and center within the top of your ramekin, decorated side facing up. Since they are the same diameter, you will want to gently press around the edges until it sits slightly inside the ramekin snugly. This should create a slight dip to your bowl, but you can also very gently press on the center to create a little more of a dip if you desire. If your dish falls into the ramekin, not to worry! As long as it has the overall shape you want, it can bake fully immersed, or slightly off kilter inside the ramekin. Place in your oven, and time for 15 minutes, or according to your clay’s instructions. Keep an eye out to make sure it doesn’ t brown. After it’s fully baked, remove from oven and let cool. Once you can safely handle the ramekin, invert and gently tap your dish out. *NOTE: Once your dish is fully cooled, it will always have a bit of elasticity to it and won’ t be completely hard like a fired ceramic dish. But as long as you are careful with it, it will keep its shape–no problem!


Step 6: Optional Finishing Touches.
At this point, you can leave your dish as is if you’re happy with it. Or, if you don’t like the matte look and want something that looks a bit more finished, you can spray with a gloss varnish. Some are safe to spray indoors, and others, such as the Krylon Triple Glaze we used, need to be sprayed outdoors– make sure to read your labels! Additionally, once your gloss application has dried, you can decorate the edge with a metallic paint marker color of your choice to give a bit of glimmer.